Hello again!
I’ve been cleaning up my hard drives and found a 28 GB Nintendo 3DS/ folder, and a light bulb went off over my head.
A few years ago, I dropped my Nintendo 2DS and my SD card got corrupted. After several hours, I recovered some files, but everything was a mess. I managed to recover some saves from some Nintendo DS games I was playing at the time and settled for that. Later, I realized I had lost some 3DS game saves and only kept the ones I had backed up with Checkpoint at some point.
For years, I’ve been making “just in case” copies of folders if something broke, and I ended up with many folders duplicated several times and disorganized. Until a few days ago, when I decided to organize all my hard drives and set up a more solid and orderly backup system. I found many Nintendo 3DS/ folders, but most had very little data, until I found one with 28 GB that really intrigued me.
In today’s post, I’m going to explain the process I followed to see what I could do with that data. It surely could have been done another way, but this is how I did it.
Obviously, all this is possible because I modded my console a while ago. Otherwise, I wouldn’t have been able to keep my saves outside of the cartridges, and now the saves for digital games would be unrecoverable. It’s something I hate about Nintendo; save data should be free. And that’s why I’ve lost many saves for games where I lost the cartridge back in the day. That’s also why I like the Steam Deck so much; I feel like I 100% own the machine I bought.
Cautious
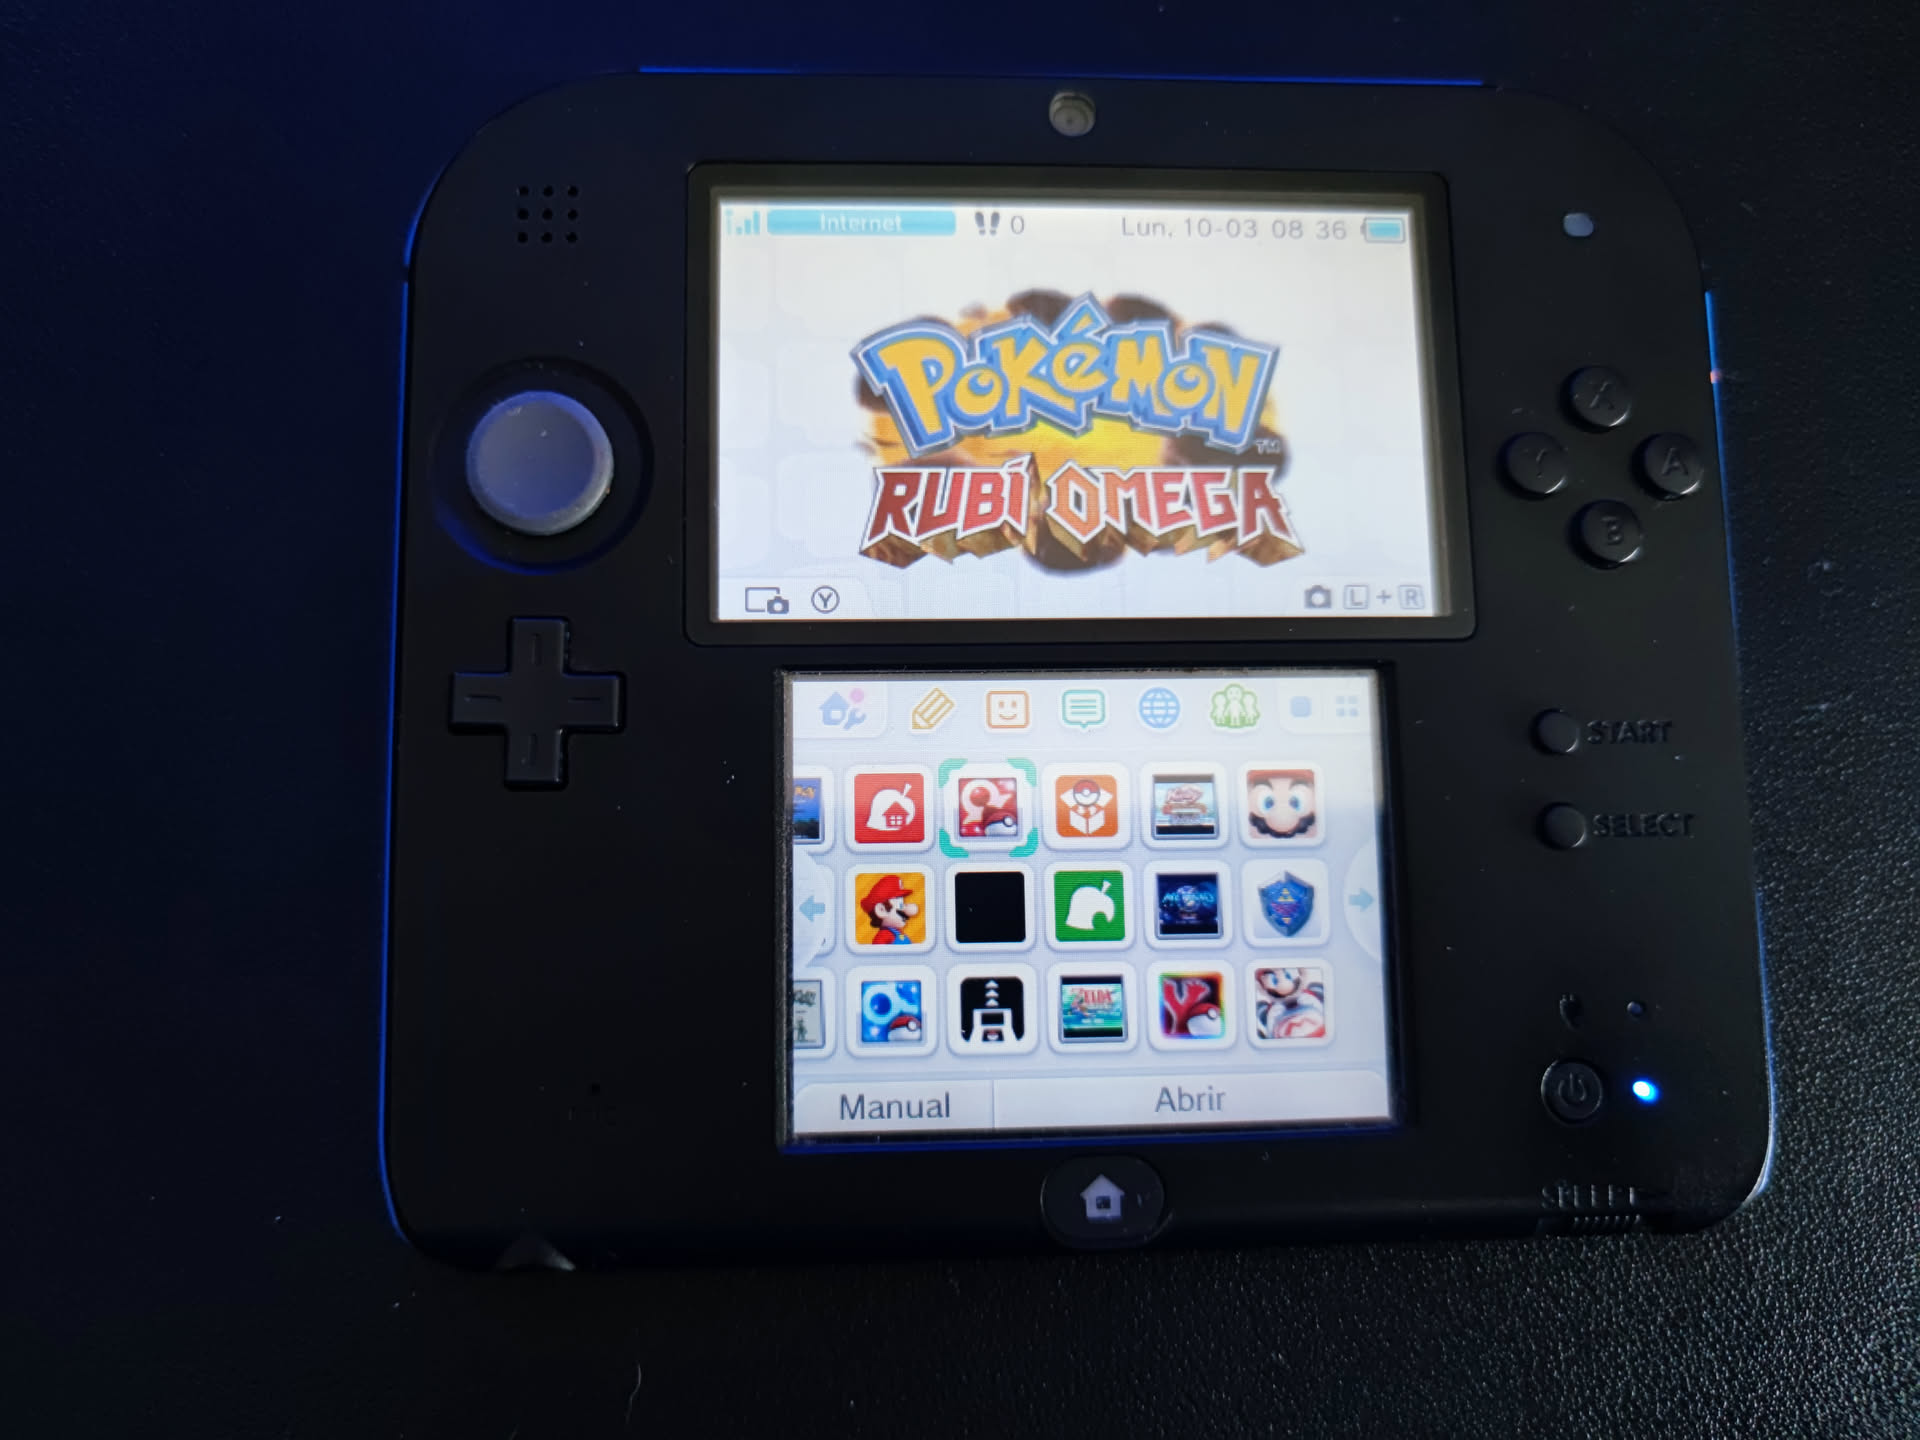
“Better safe than sorry,” so the first thing was to remove the SD card from the 2DS and make a copy of all the current content to the computer just in case. I don’t currently play the 2DS since I mostly play on the Steam Deck now, but still, it doesn’t hurt to make a backup.
The first hint that made me worry was that one of the folder IDs was different from my old backup. On the Nintendo 3DS SD, certain folders are created. The structure is Nintendo 3DS/ID0/ID1, each ID being 32 hexadecimal characters. Inside this folder are all the installed programs along with the save data. Take this with a grain of salt, but I believe the first ID (ID0) is the console identifier; it’s unique to each console and shouldn’t change unless the motherboard is replaced. The second identifier (ID1) is the specific instance of the file system, which can change if the console is formatted or the encryption key has changed. Both are necessary because they are linked to the console’s encryption key, meaning if you move this folder from one console to another, the new console won’t read the files because it has a different encryption key.
Underway
That said, and having made the backup of the console’s current SD card, it was time to copy the files from the old backup to the SD. I had many problems with the microSD; it was very slow when copying files and kept disconnecting. It’s probably fake, I don’t even remember where it came from, but as long as it works, I’m fine with it.
Tight Memory
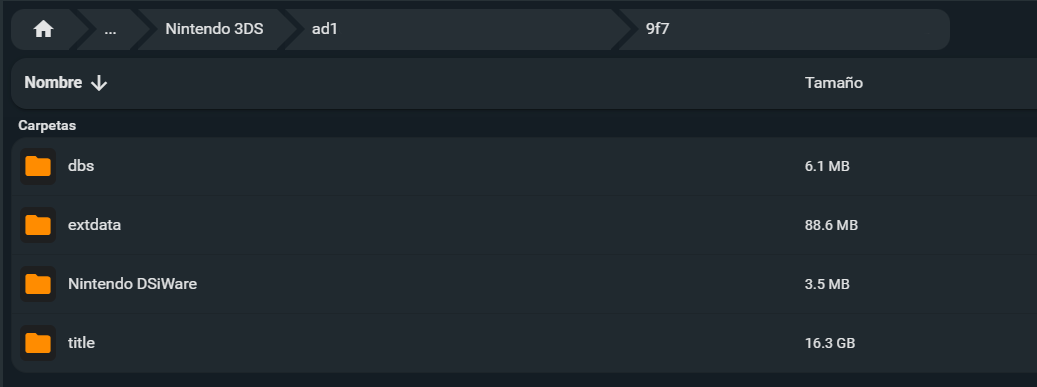
Since I already had some files, everything didn’t fit, so I decided to delete some files. Inside the Nintendo 3DS/ID0/ID1/ folder, there are several folders:
- dbs is where the database files with the map of all programs are, so the console knows what’s installed.
- title is the most important folder. It contains all installed games and programs.
- extdata contains extra save data or system files.
- Nintendo DSiWare has games from the previous generation.
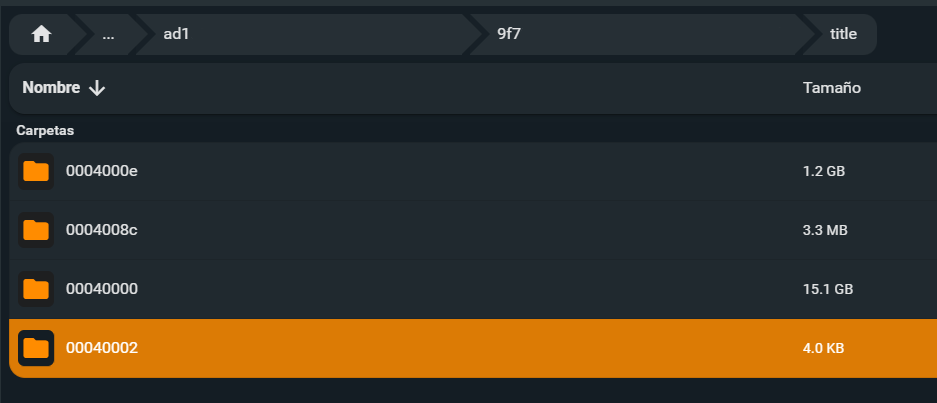
The most important stuff is in the title folder. Inside this folder, there are special identifiers. Each is for a different purpose:
- 0004000e: Game updates and patches.
- 0004008c: DLCs.
- 00040000: Full games and applications, with save data.
- 00040002: Demos.
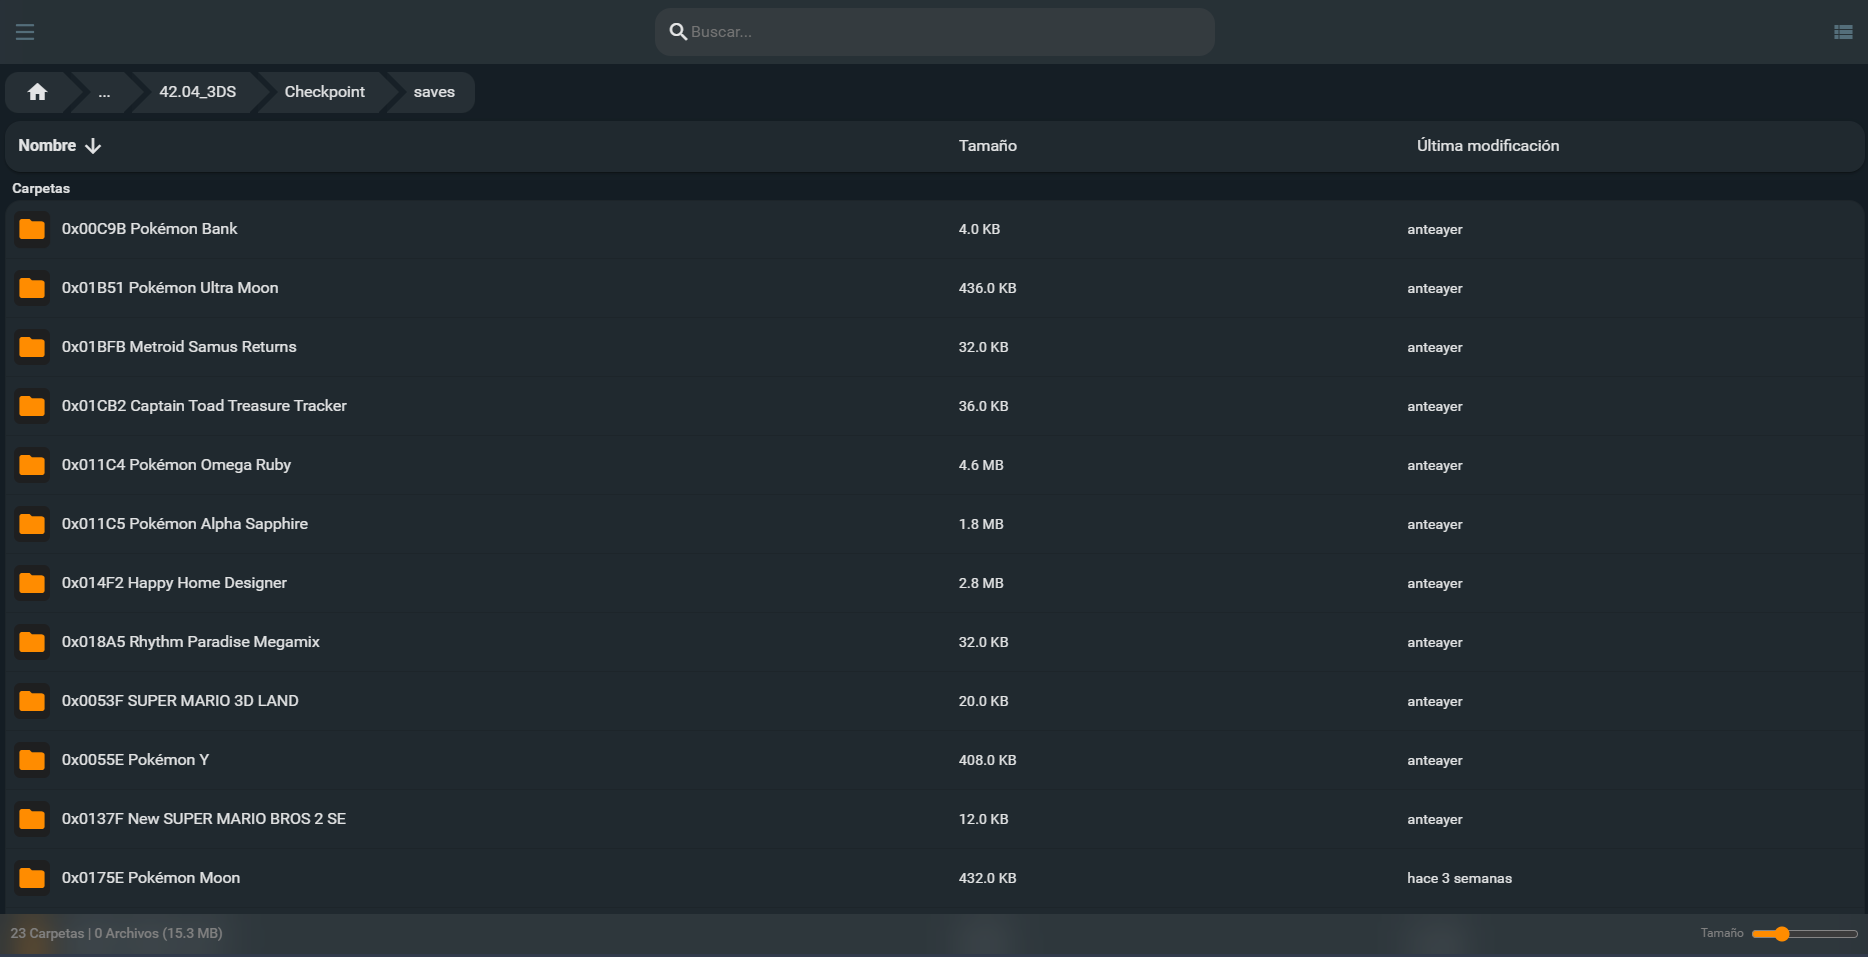
The idea is simple: delete the games whose saves I didn’t care to keep. To find out which game belongs to each folder, there are several websites to identify the game by the ID, such as 3dsdb.com or hax0kartik.github.io/3dsdb/.
I went one by one searching for each game. Some weren’t in the database, so I understand they are unofficial games or fangames. I left those and deleted large games that I haven’t played or didn’t mind losing.
Earlier I said “Better safe than sorry,” which doesn’t apply to me because I didn’t make a backup before starting to delete games. In the end, it was about 17 GB.
Transfer
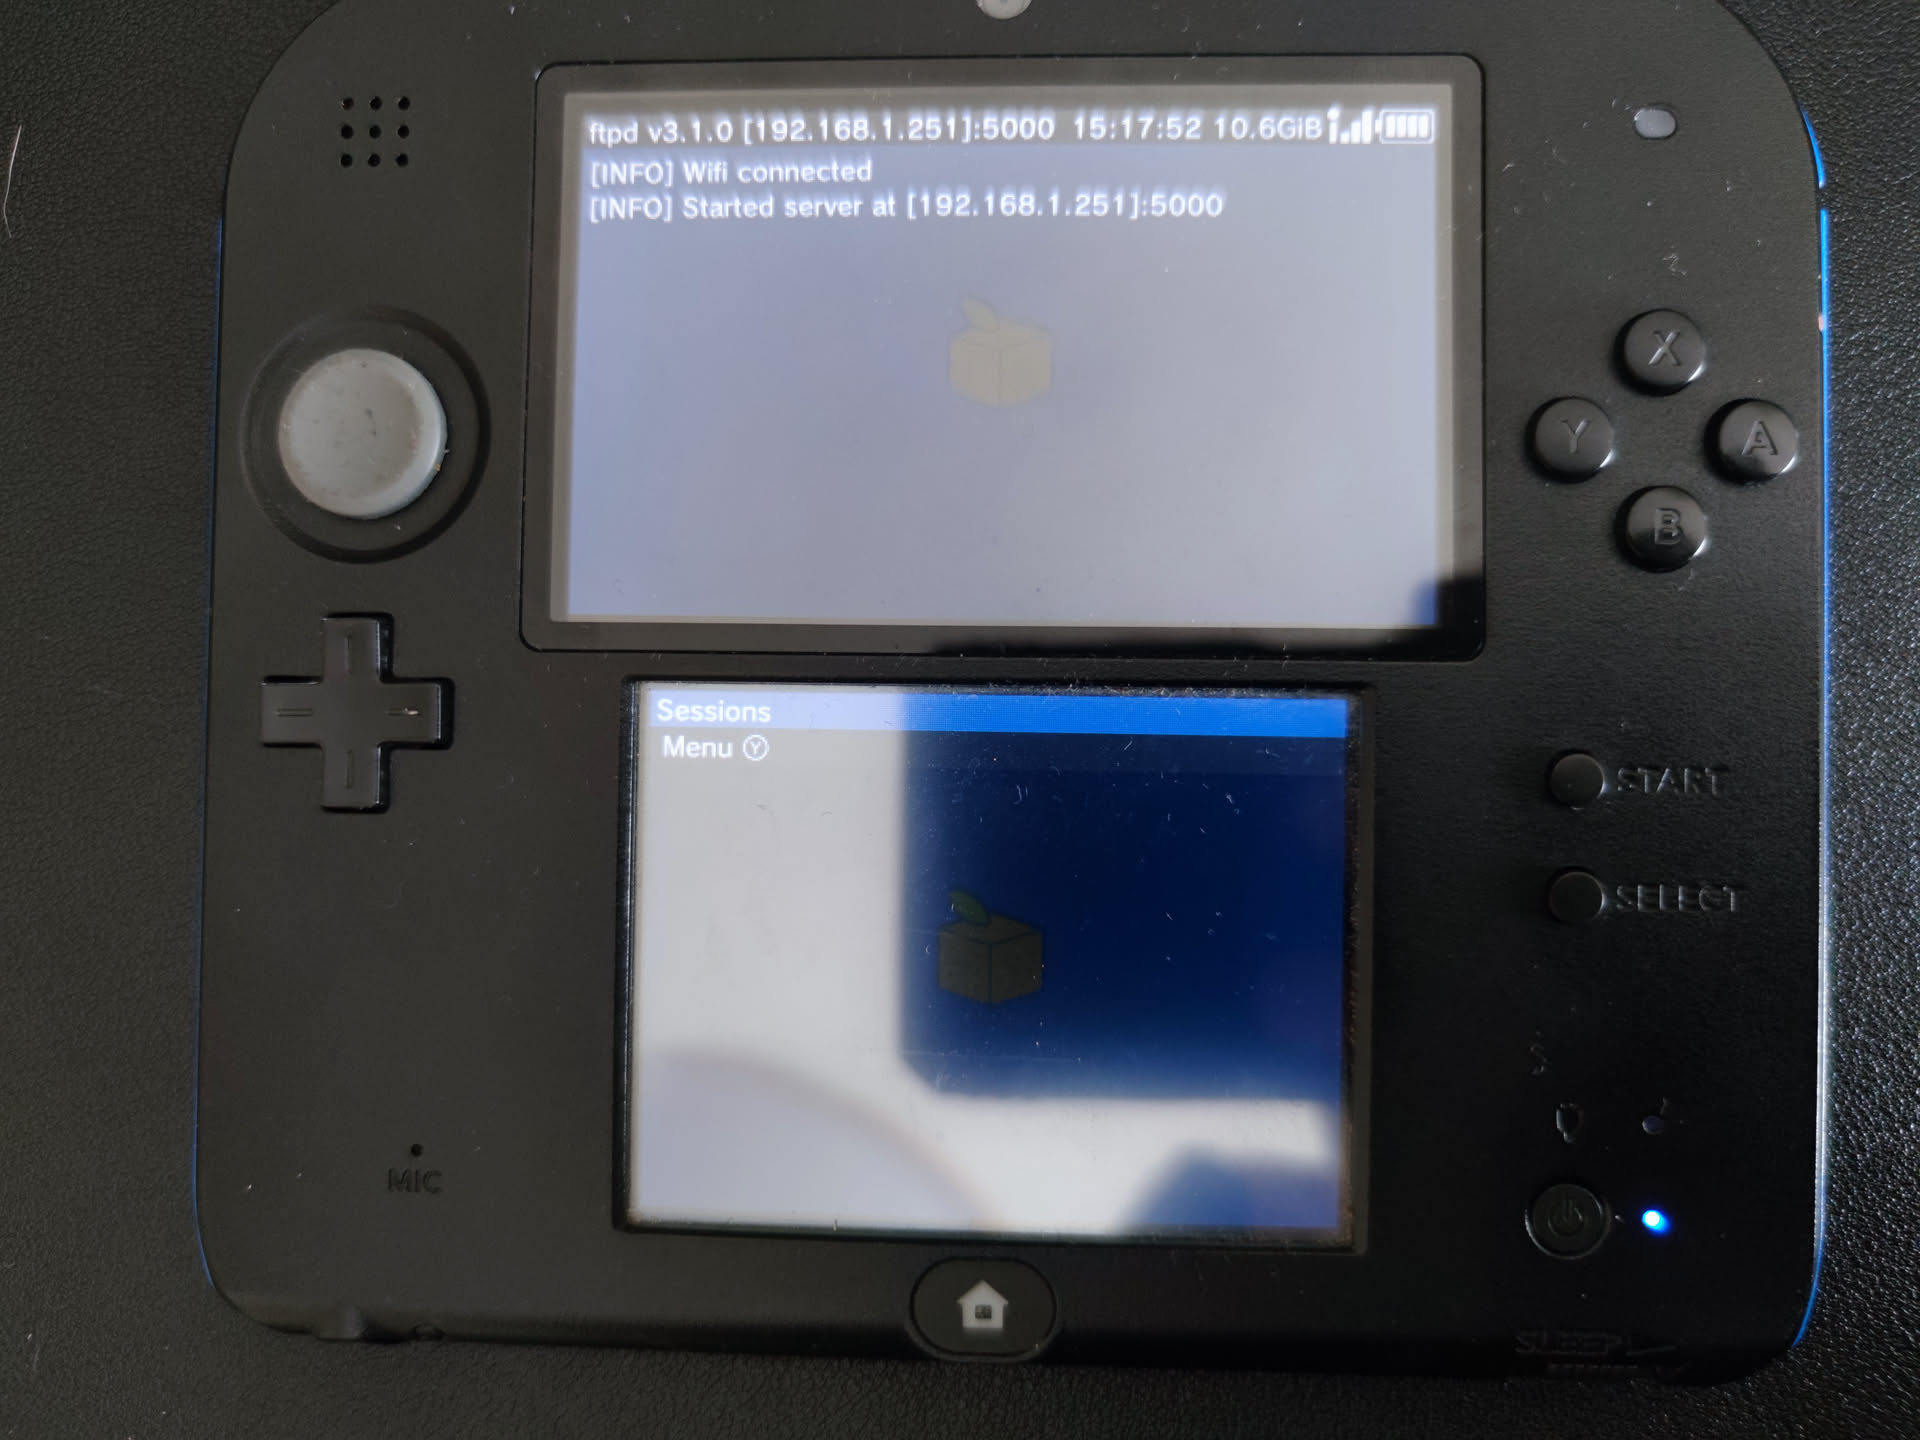
In the end, I decided to transfer the files via FTP using a service I installed called FTPD. I set it to send everything from the /Backup/Nintendo 3DS/ID0/ID1_0/ folder to /Nintendo 3DS/ID0/ID1_1/, even if the ID1s didn’t match. I used the lftp command to send it directly.
| |
The transfer was very slow, at about 700 KB/s, so it was going to take a few hours to move everything.
Making Use of the Time
While the transfer was finishing, I started preparing the files I would probably need to make it work. Upon finishing the console modding process, you extract a copy of the NAND, the console’s internal memory, which allows you to have a backup in case anything happens. Since I’m going to have to decrypt the program files, I’ll need to extract a few files containing the decryption keys. At the time, I made a NAND backup and it gave me a .bin file of approximately 1 GB. This file is unique to each console and is what allows me to decrypt the files from my old backup.
There were some tools that asked for more files, like movable.sed or essential.exefs. I found a tool called ninfs that allows you to dig through the NAND and extract the files I mentioned, and so I did.
The next step was to mount the folder I was sending to the Nintendo 2DS with ninfs, to see if I could recover the saves directly from the PC.
Scares
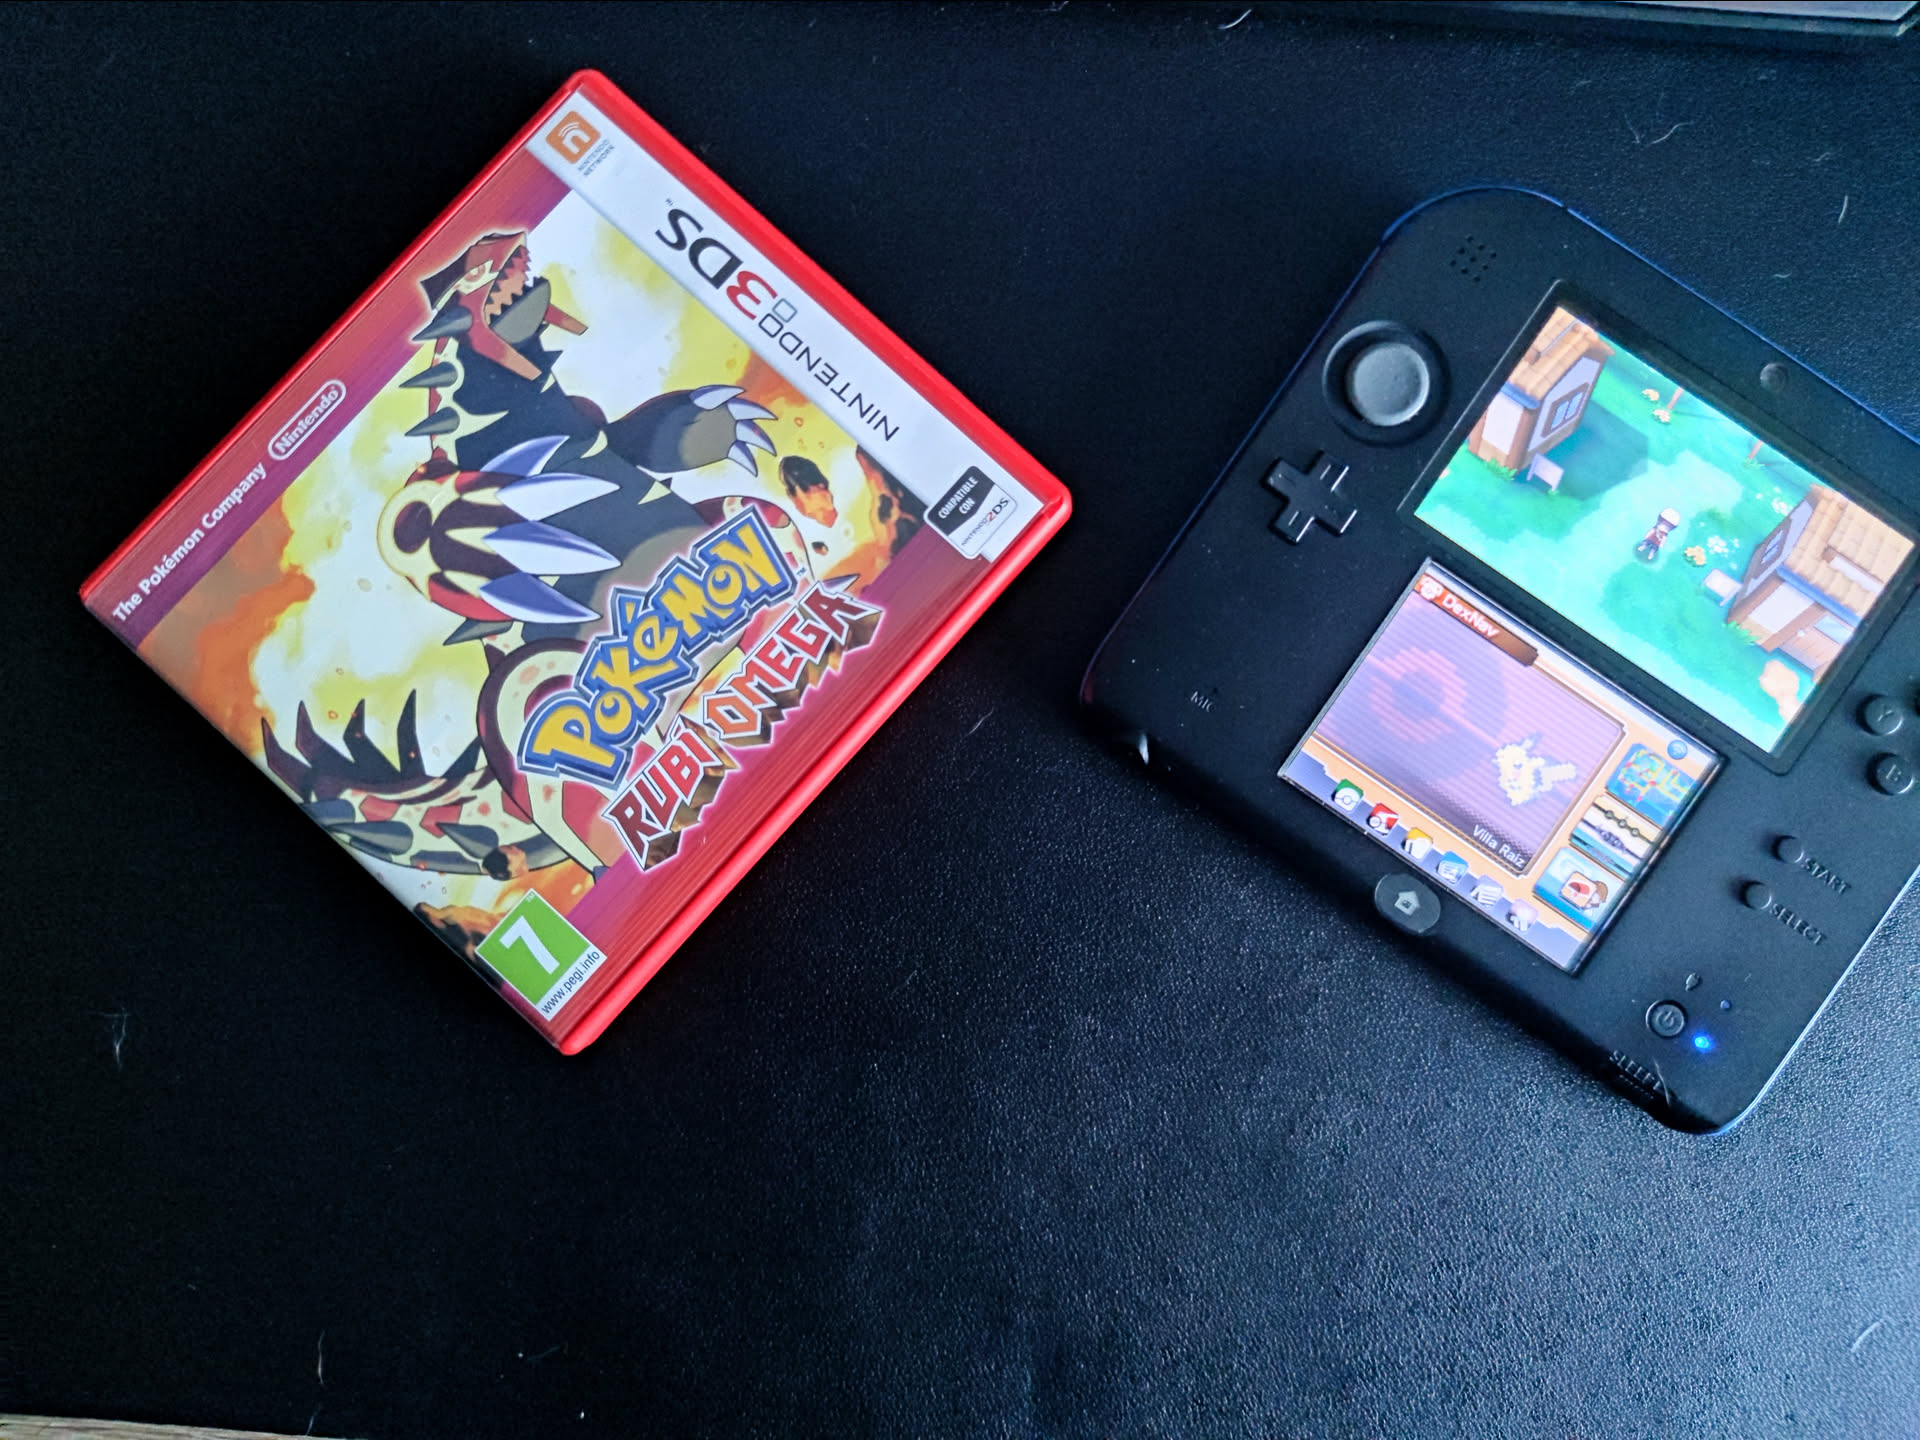
After mounting the copy with ninfs and extracting the save data, I checked that the Animal Crossing data weighed barely 32 KB, so I feared the worst. I extracted the Pokémon Omega Ruby save, which weighed 1 MB, which was more normal.
I loaded the game with an emulator and tried to load the save. When loading the Pokémon save, I saw that the game only had 7 minutes of playtime, which was a heavy blow.
Tense Relief
Good thing I didn’t throw in the towel because what was loading was a test save I already had on the computer. When I transferred the rescued save to the game, it showed up as corrupt, so I couldn’t test it on the computer, but the option of testing it directly on the console was still on the table. I also found a different Animal Crossing save that weighed 10 MB. So I waited for the file transfer to complete.
More Scares
Once the transfer was completed, it was time for the most delicate moment. I exited the program and something predictable happened: all my programs and the installed theme were gone.
I won’t deny that I didn’t expect it to work on the first try. In the end, I replaced an entire database. I rebooted the console and it was still the same, no programs or games. I went to the console settings and the SD card data. The console alerted me that the data was corrupted and that everything needed to be deleted; even so, I didn’t give up.
I rebooted and entered GodMode9 and tried to run a Fix CMAC script to see if the database would reset, but everything remained the same. So I renamed the dbs/ folder so the console wouldn’t find it, hoping it would recreate it. The programs still didn’t appear, but now it didn’t tell me to delete the database, I imagine because it didn’t exist, but it was a step.
I found instructions to rebuild the title database, using the security files I mentioned before. I followed the fairly simple instructions, and, by magic, the games and programs appeared.
I opened Pokémon and a error message appeared saying that the data does not correspond with the last save, which wasn’t entirely bad news. I understand the game uses the console’s counter to check that you created that save file with the console itself.
Happy Ending
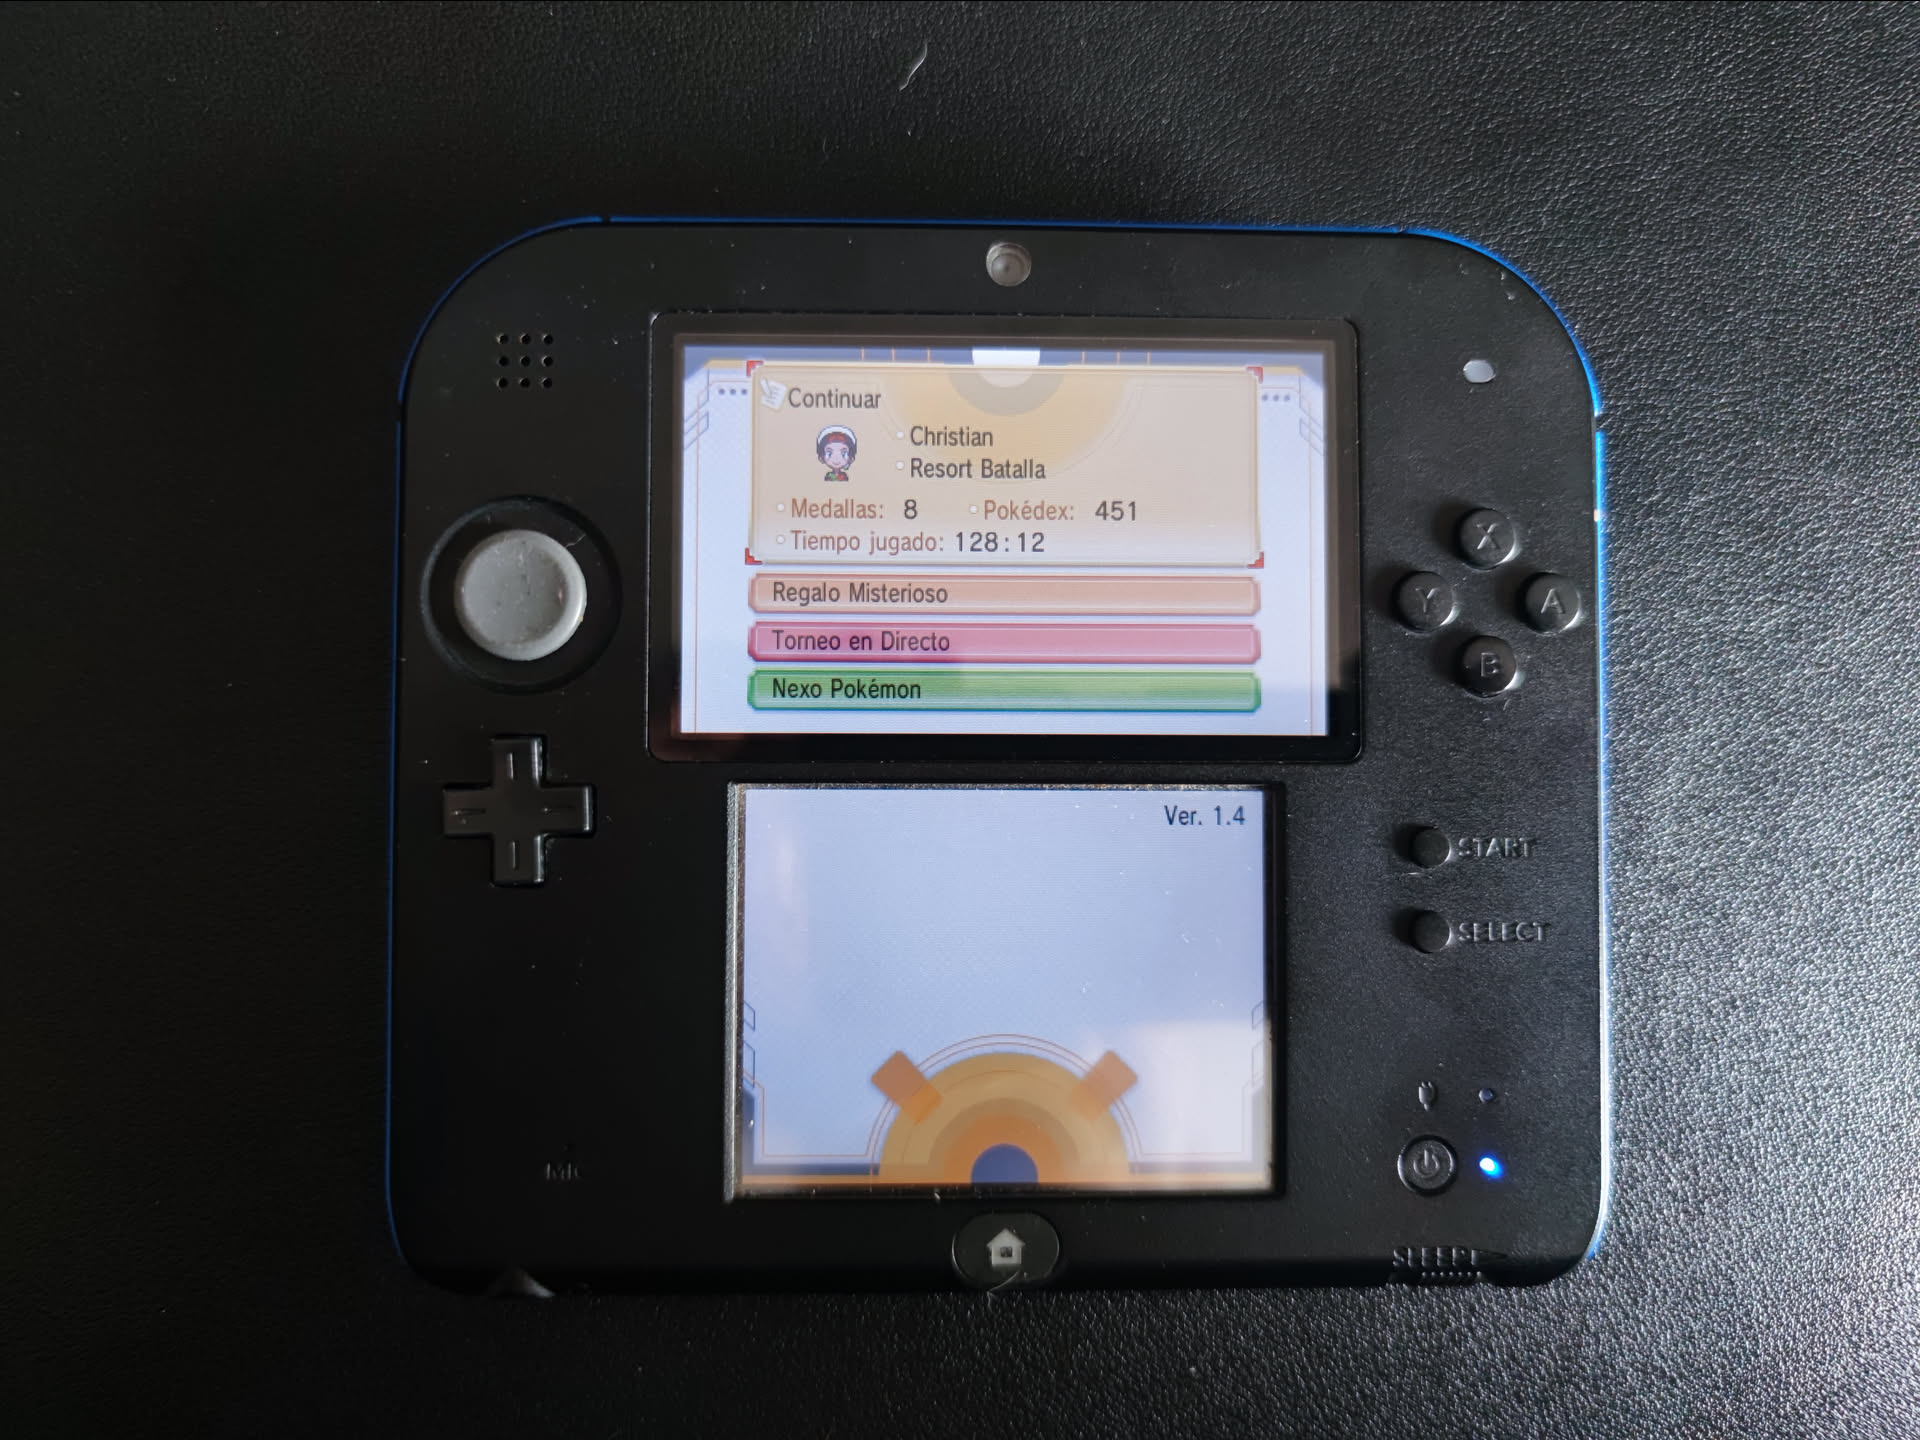
With the Checkpoint program, I created a save backup and put it back into the game. And now, yes, my save was there, exactly as I left it last time, with 128h and the Regional Pokédex completed, including the Regional Living Dex I made. Now I could finally extract all the game information and take screenshots to be recorded in my log at MediaTracker.
This was the save I was most interested in getting. My Animal Crossing save is also there, along with the 100% completed New Super Mario Bros 2 save. Now, I could create backups of everything with Checkpoint and save it orderly on my hard drive.
This has been a small “break” in the long process of organizing hard drives. I’m trying to leave the hard drives as organized as possible and prepare for any misfortune. Having my game saves isn’t really very important, but I would have really liked to keep the saves of the Pokémon games from when I was little; it’s something I won’t be able to change, but I can prevent it for the future.
See you in the next post with more things!